How to import a CSV into additem.to
Already have your inventory in a spreadsheet, or exported from another app? Import it in one go. Columns map automatically, locations and tags are created for you, and columns additem.to does not recognise can become custom fields - types and all. We test the import with 20,000 fully detailed items in a single file, and it imports in seconds.
What your CSV needs
Very little. The file needs a header row and at least one column that maps to a field: additem.to only refuses a file with nothing mapped ("Map at least one column to import"). Everything else, including Name, is optional. A row with no value in any mapped column is skipped ("Empty row"). Headers are matched flexibly ("Item Name", "name", and equivalents in 14 languages all work), and both comma and semicolon separated files are detected automatically, so a CSV saved from Excel, Numbers, or Google Sheets works as it is.
| Column | Notes |
|---|---|
| ID | An item's permanent identifier, included in every export. A row with an ID updates that item. Without one, every row creates a new item. |
| Name | The item's name. Optional: an item with nothing in this column shows as "Unnamed item", unless the inventory has a Title field naming it from other fields instead. |
| Description | Free-text description. |
| Category | Category label, e.g. "Power Tools". |
| Manufacturer | "Brand" and "Make" work too. |
| Model Number | |
| Serial Number | "Serial", "Serial No" and "SN" work too. |
| Barcode | "EAN" and "UPC" work too. |
| QR Code | The exact contents of an existing QR code, so codes you have already printed keep working. Included in exports, so it survives a round trip. |
| Location | Location name. Locations that do not exist yet are created for you. |
| Quantity | Numeric. "Qty", "Count" and "Stock" work too. |
| Unit | Unit label for quantity items, e.g. "boxes". |
| Type | "Individual" for single tracked items, "Quantity" for bulk items. If missing, a quantity of 1 means individual. |
| Purchase Date | YYYY-MM-DD is safest; day-first dates like 14/03/2026 are recognised too. |
| Purchase Price | Plain numbers or with a currency symbol - both work. |
| Notes | |
| Tags | Separate multiple tags with semicolons, e.g. work;fragile. New tags are created for you. |
| Lent To | A name here records the item as currently lent out. |
| Low Stock Threshold | For quantity items: warn when stock drops to this number. |
| Status | "Sold", "Missing" or "Archived", or blank for none. On an update, a blank cell clears the status and a value we don't recognise leaves it as it is. Marking an individual item Sold or Missing counts in Stock History, as it does in the app. |
| Deleted | Careful with this one. On a reimport, "yes", "true" or "1" marks the matching item as deleted. It is not included in exports, so the column only appears if you add it yourself. If a file from another app happens to have one, set it to Skip. |
| Stock Movement | Records stock moving on an existing quantity item, matched by ID: Sold, Used, Lost, Damaged, Restocked, Found or Correction. One movement per row, recorded as Adjust Stock records it. Like Deleted, it's never in an export. |
| Movement Amount | How many, as a whole number. A correction reads the sign: "-3" takes 3 away, "3" adds 3. |
| Movement Value | Optional. The total it was worth. Left blank, it's worked out from the inventory's sale or cost price, as in Adjust Stock. |
| Movement Date | Optional. The day it happened; today if blank. |
| Movement Reason | Optional. Who it was sold to, for example. |
| Anything else | Unrecognised columns can become custom fields - see below. |
Step by step
1. Open the import
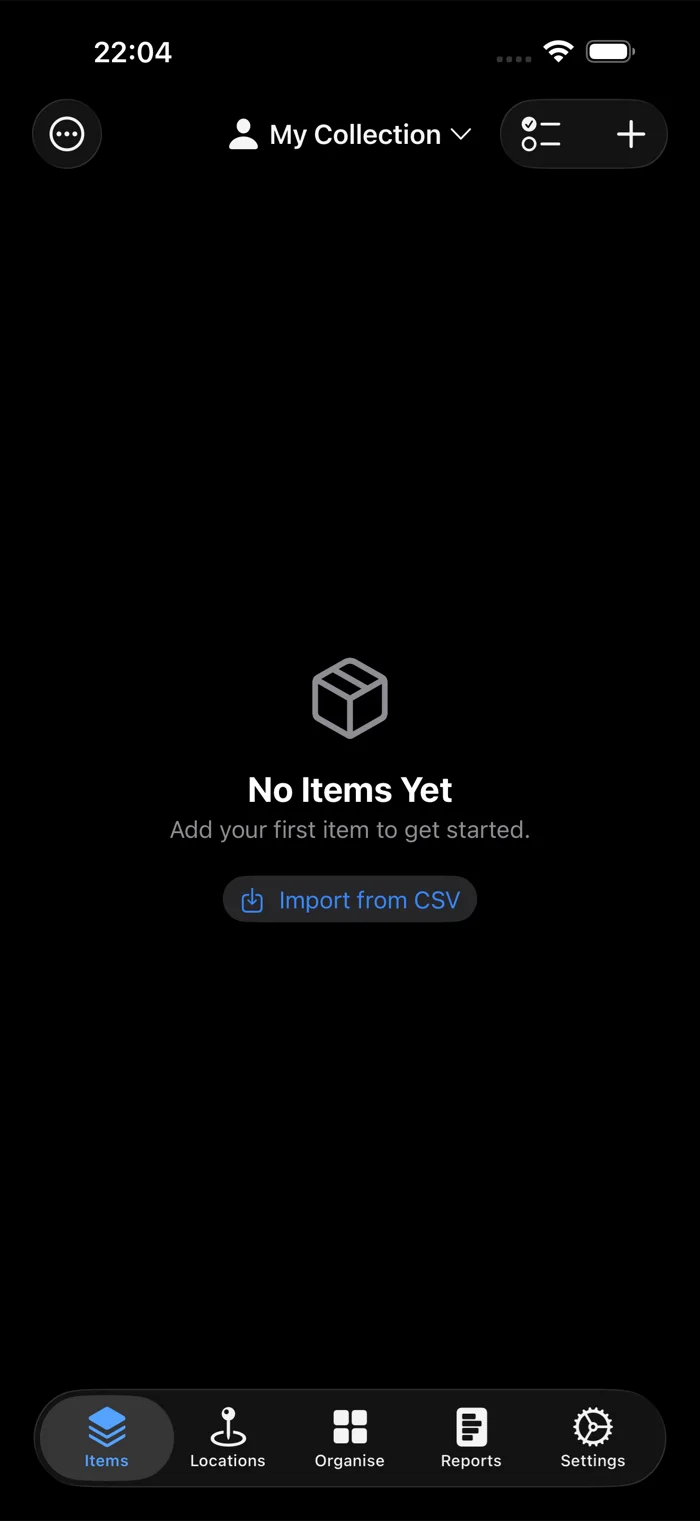
On the Items page, a brand new inventory shows Import from CSV front and centre. If you already have items, it lives in the ... menu. Pick your CSV file and additem.to reads it on the spot.
2. Check the column mapping
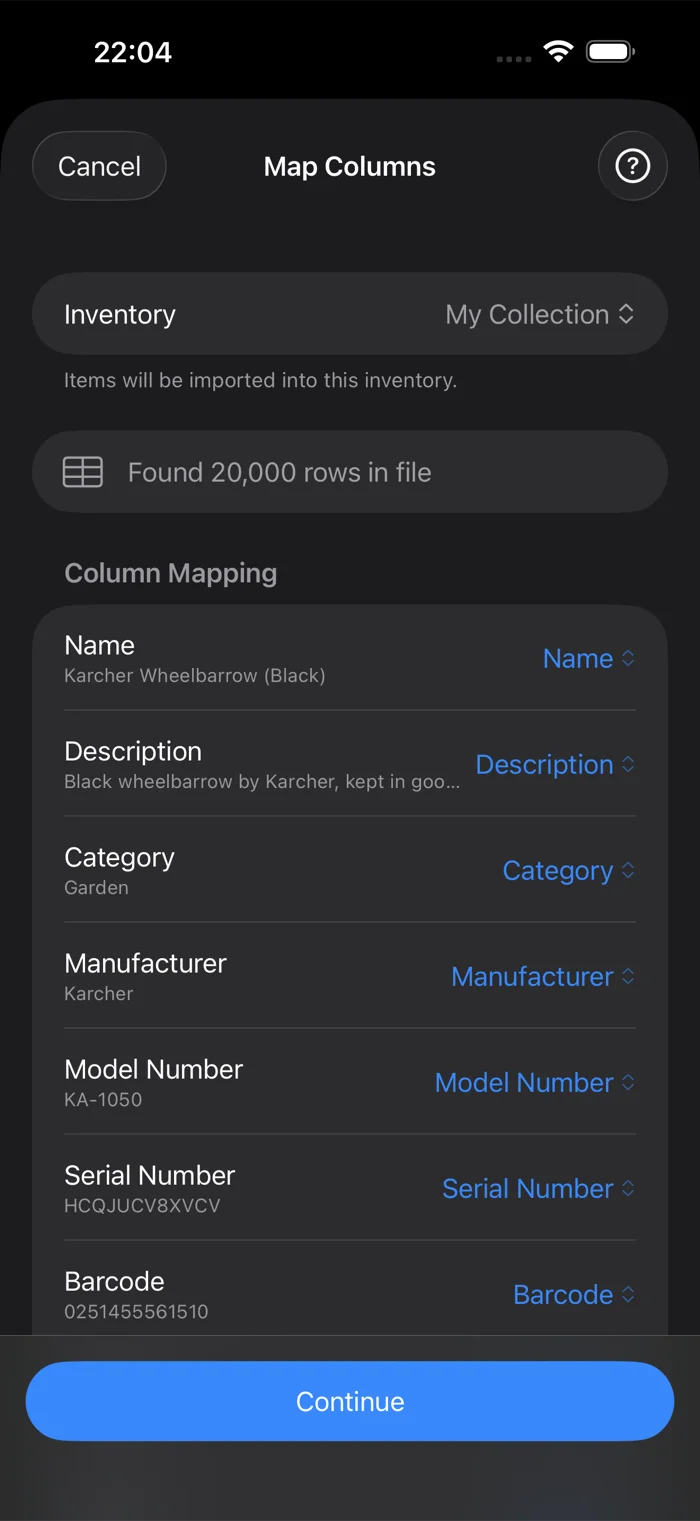
Every column in your file is listed with the value from the first row underneath, so you can see at a glance what the data looks like. Recognised headers are already mapped to the right field. If something guessed wrong, tap it and pick the correct field - or set it to Skip to leave that column out entirely.
3. Let extra columns become custom fields
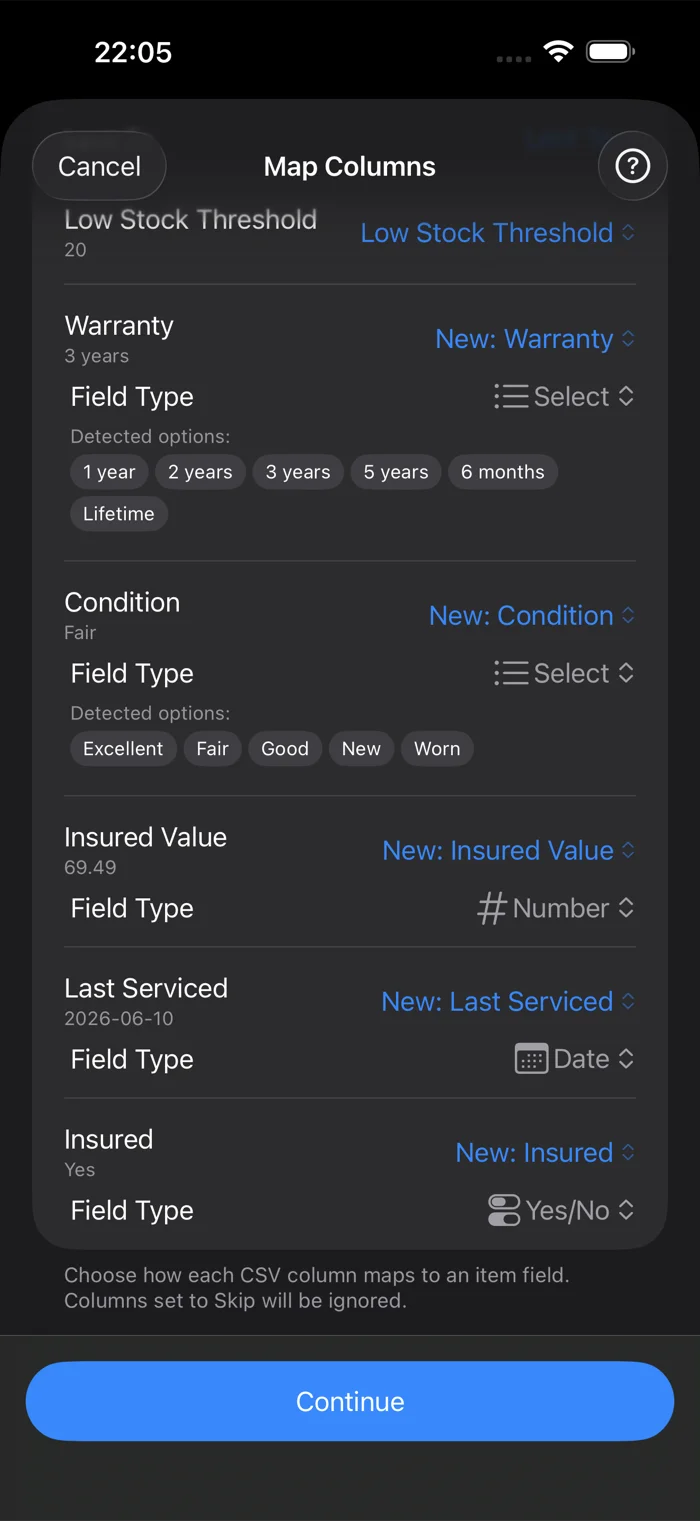
Columns that do not match a built-in field are offered as new custom fields, and additem.to works out a sensible type from your data. A column of numbers becomes a number field, dates become a date field, yes/no values become a switch, and a column with a handful of repeating values ("New", "Good", "Fair") becomes a select field with those options ready-made. A column headed Phone, Tel, Mobile or similar becomes a phone field, a number with a leading zero is kept as text rather than turned into a number, and a plain number is never read as a date.
4. Review new locations and tags
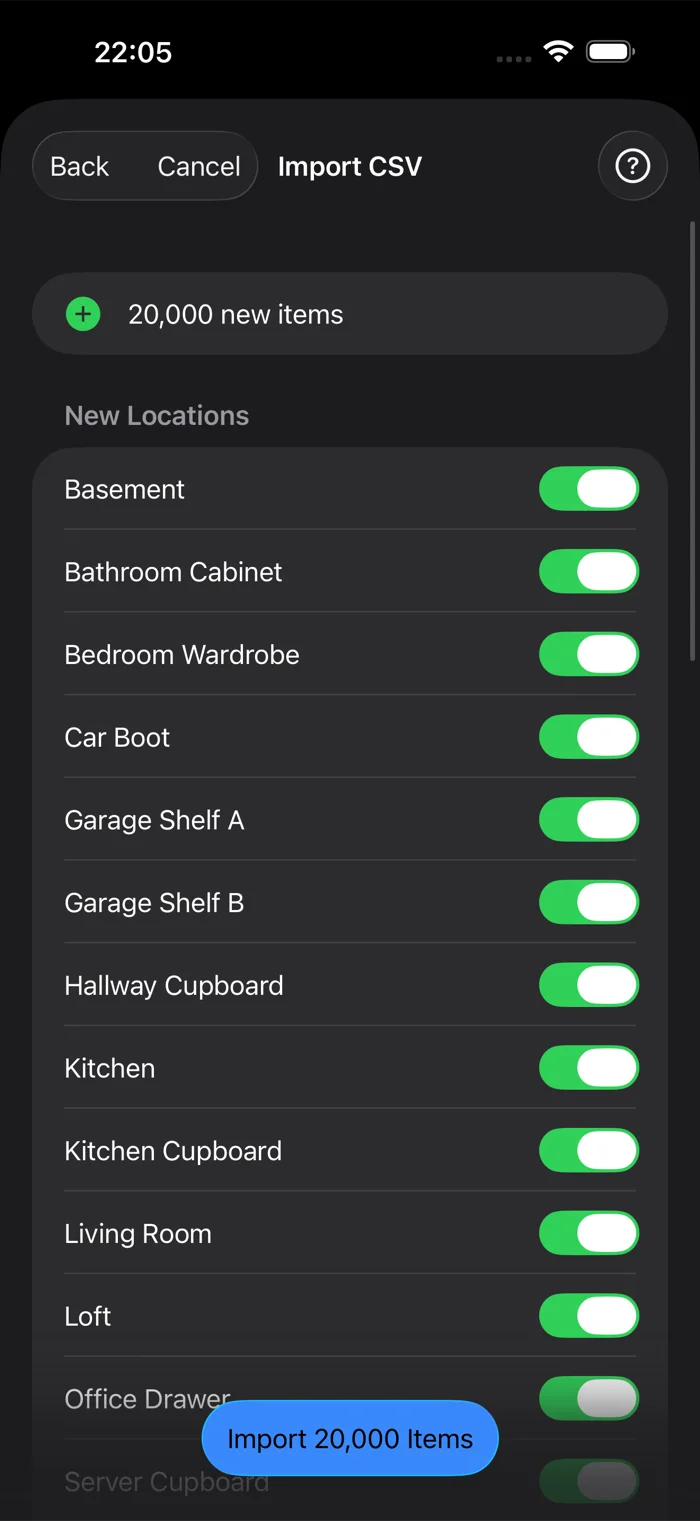
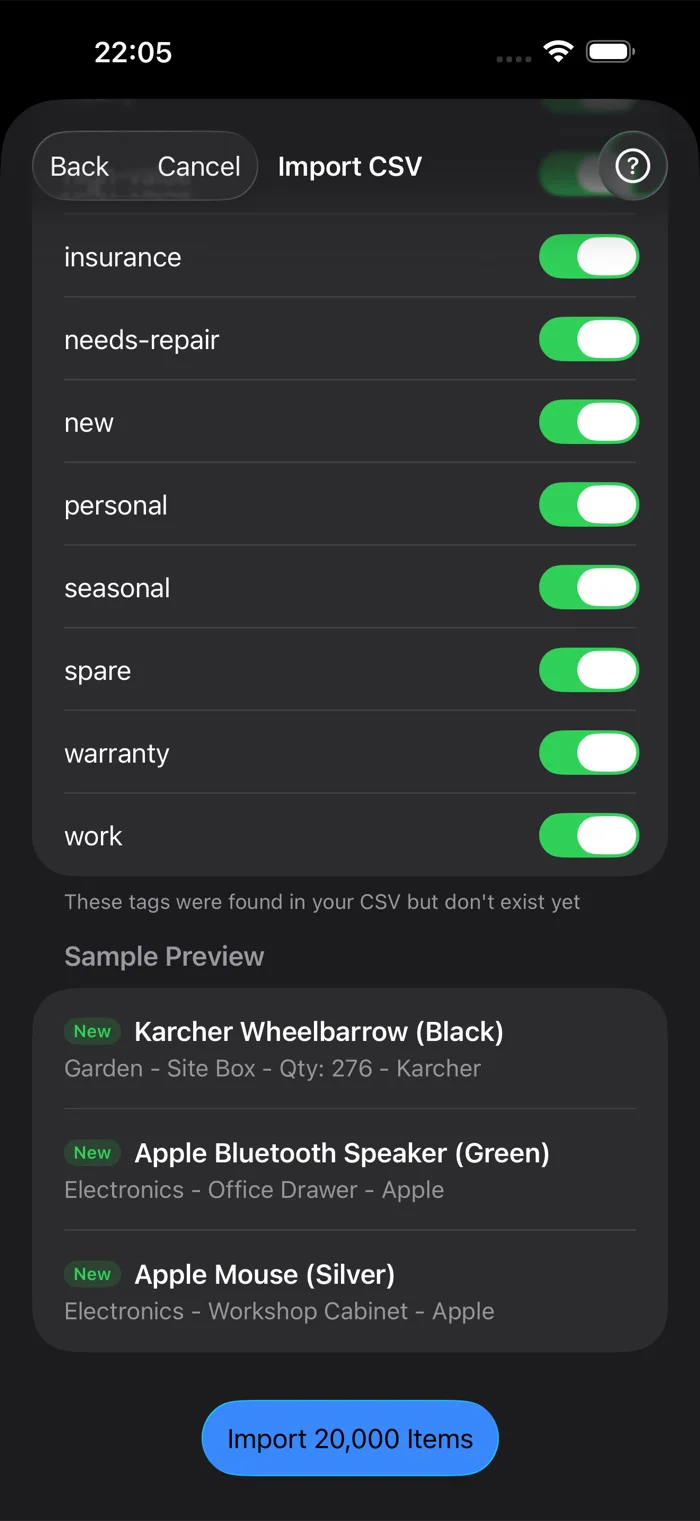
Before anything is imported, additem.to shows you every location and tag in your file that does not exist yet, each with a toggle. Leave one switched off and the items still import - just without that location or tag. A sample preview at the bottom shows how the first few items will come out.
5. Import
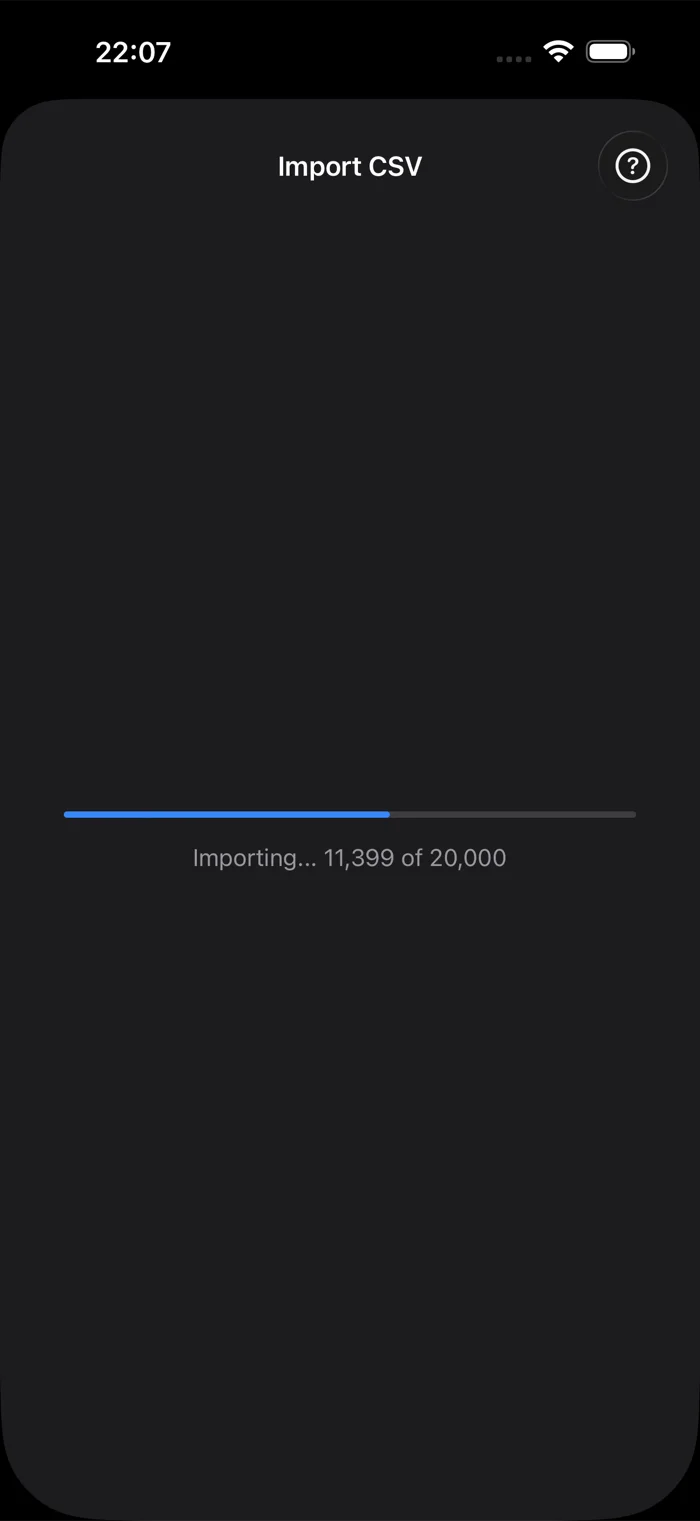
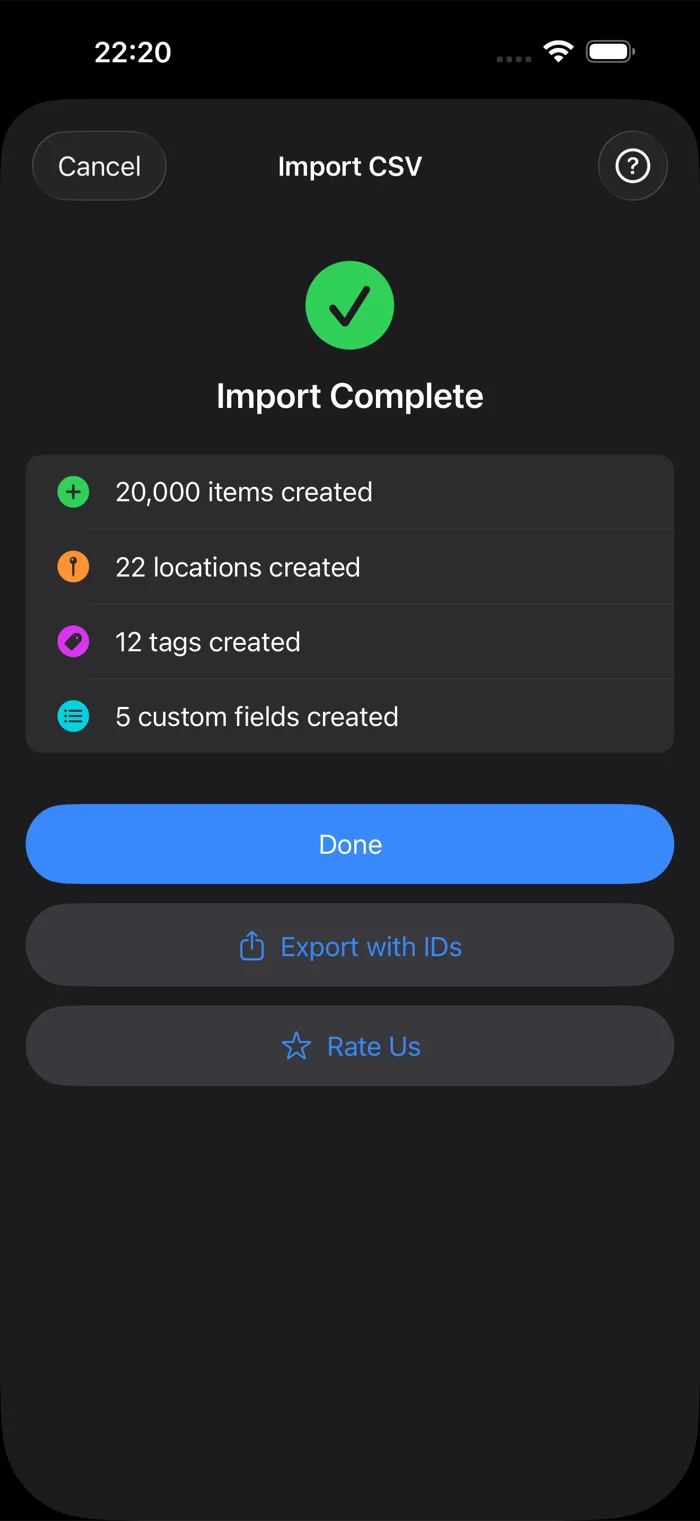
Tap the import button and let it run. Everything happens on your device, so it is fast - even a 20,000-item file imports in seconds. The import is also all-or-nothing: if it is interrupted, nothing half-finished is left behind. When it completes you get a summary of exactly what was created.
Updating existing items with a reimport
Import is also how you bulk-edit. Every CSV exported from additem.to includes an ID column with each item's permanent identifier. Reimport an edited export and rows with a matching ID update the existing item instead of creating a new one - change prices, fill in serial numbers, or fix categories for hundreds of items in one spreadsheet session. The Export with IDs button on the completion screen gives you that file.
Two columns are enough: ID and the one you are changing. Leaving Name out is still the safer choice: if you have renamed anything in the app since you exported, a Name column would write the old name back over it.
Rows without a matching ID still create new items, with or without a name. A row with no value in any mapped column is skipped and listed in the summary rather than stopping the whole import. See the CSV export guide for the full workflow.
Recording sales from a spreadsheet
To record a month of sales in one go, add a Stock Movement column set to "Sold" and a Movement Amount column to an export, with a Movement Date and Movement Value if you have them. Each row takes the stock off its item and shows up in Stock History. The preview tells you how many movements it will record before anything changes.
You can import the same file again without counting its sales twice. If a row looks like a duplicate, the preview lists it and you choose whether to record it:
- Already recorded by an earlier import: skipped unless you choose to record it. So a file imported twice adds nothing new.
- Same as an earlier row in this file: recorded unless you choose to skip it. Two sales of the same thing on the same day are usually both real.
You don't need to change the Quantity column on these rows. The movement updates it for you.
Coming from another app
If you are moving from another inventory app, export your data there as CSV and import it here. Because unrecognised columns can become typed custom fields, data that does not fit additem.to's built-in fields - condition grades, insured values, service dates - survives the move instead of being flattened into notes. Photos are not part of a CSV file, so add those to your most important items after the import.
Requirements
CSV import is available on iPhone and in the web app at app.additem.to, on every plan including the free one. Files up to 50,000 rows are supported.
Try additem.to free on iPhone, or sign in to the web app and import your inventory today.
Download on the App Store Open the web app